
How to Record Skype Meetings for Business
Skype for Business is a popular communication tool businesses, and organizations use worldwide. One of the many features that make it a preferred choice is the ability to conduct virtual meetings with colleagues or clients from anywhere in the world. While Skype for Business offers a range of functionalities to enhance virtual meetings, recording these meetings is a feature that many users find helpful.
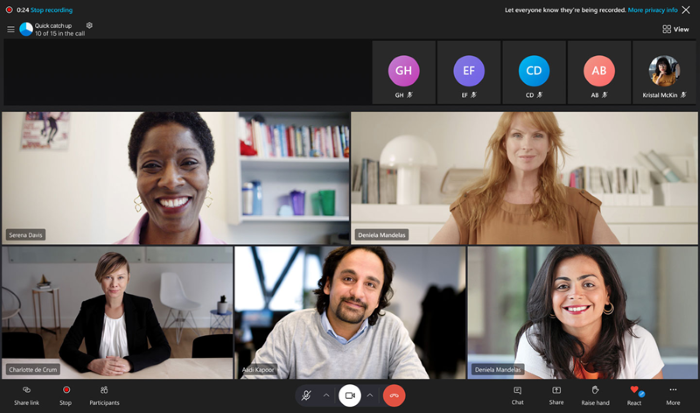
Recording a Skype for Business meeting effectively captures meaningful discussions, presentations, or training sessions for future reference or sharing with those who couldn’t attend. This article will discuss the steps to record Skype meetings on Windows and Mac platforms using Skype for Business. We will also provide some tips and best practices for recording sessions effectively.
Table of Contents
Difference Between Skype, Microsoft Teams, and Skype for Business
Skype, Microsoft Teams, and Skype for Business are all communication tools offered by Microsoft, but they serve different purposes and have distinct features. Here are the key differences between the three:
- Skype: Skype is a free messaging and video calling app primarily used for personal communication. It allows users to make voice and video calls, send instant messages, and share files. It’s available on desktop, mobile, and web platforms.
- Skype for Business: Skype for Business is a communication tool for business and enterprise use. It includes online meetings, video conferencing, and screen-sharing features. It’s integrated with Microsoft Office, making scheduling appointments and document collaboration easy. Microsoft Teams have now replaced Skype for Business.
- Microsoft Teams: Microsoft Teams is a collaboration platform for teamwork and productivity. It includes chat, video conferencing, file sharing, and integration with Microsoft tools such as Office and SharePoint. It also allows for third-party app integration, making it a versatile tool for remote work and collaboration.
Record Skype for Business with Its Built-in Screen Recorder
Skype for Business has a built-in screen recording feature that allows users to capture audio, video, and screen content during a meeting. Here are the steps to use the screen recorder in Skype for Business:
- Join the meeting: Launch Skype for Business and join the forum you want to record.
- Start the recording: Once you’re in the meeting, click on the “More Options” button (three dots) at the bottom right of the screen. From the drop-down menu, select “Start Recording”.
- Choose what to record: You can select your desired record. Choose whether to record the entire meeting, just the presented content, or a specific area of the screen.
- Start recording: Click the “Start Recording” button to record the meeting. A red dot will appear in the upper right corner of the screen to indicate that the recording is in progress.
- Stop recording: To stop the recording, click the “More Options” button again and select “Stop Recording”.
- Save the recording: After you stop the recording, Skype for Business will automatically save the recording in the “Videos” folder in your user profile.
Note: The screen recording feature is only available in Skype for Business on Windows. If you’re using Skype for Business on a Mac or mobile device, you must use a third-party screen recording tool to capture the meeting.
Pros & Cons of Its Built-in Screen Recorder
The built-in screen recorder in Skype for Business is useful for recording meetings and capturing meaningful discussions, presentations, or training sessions. However, there are some extensions and limitations to be aware of when using this feature:
Pros:
- Audio and video recording: The built-in screen recorder allows users to record not only the screen but also the audio and video of the meeting.
- Easy to use: The screen recording feature in Skype for Business is user-friendly and easy to navigate, making it accessible to even novice users.
- Flexible recording options: Users can record the entire meeting, just the presented content or a specific screen area.
- Automatic saving: Skype for Business automatically saves the recording in the “Videos” folder in the user profile after the recording is stopped.
Cons:
- Limited recording time: The built-in screen recorder in Skype for Business is limited to 4 hours of continuous recording.
- Recording quality: The recording quality may be compromised due to network connectivity and system performance.
- Limited editing capabilities: The built-in screen recorder does not provide advanced editing features like trimming, adding annotations, or changing the recording speed.
- Limited availability: The screen recording feature is only available in Skype for Business on Windows. If you’re using Skype for Business on a Mac or mobile device, you’ll need a third-party screen recording tool to capture the meeting.
Record Skype Meetings with iTop Screen Recorder
If you’re using Skype for Business or looking for a third-party screen recording tool with more advanced features, iTop Screen Recorder is a great option. Here are some of the features and benefits of using iTop Screen Recorder to record Skype meetings:
- High-quality recording: iTop Screen Recorder allows you to capture high-quality audio and video without losing quality.
- Flexible recording options: You can record the entire screen, a specific window, or a custom screen area.
- Recording schedule: iTop Screen Recorder allows you to schedule recordings in advance, making it easy to capture important meetings without remembering to start the recording manually.
- Annotation tools: iTop Screen Recorder includes various annotation tools, allowing you to add text, arrows, and other graphics to your recording.
- Editing features: iTop Screen Recorder provides basic editing features like trimming, merging, and adding background music, making it easy to create polished recordings.
- Easy sharing: Once you’ve finished recording your Skype meeting, iTop Screen Recorder makes it easy to share your recording with others via email, social media, or cloud storage platforms.
iTop Screen Recorder is a versatile and user-friendly screen recording tool that can help you easily capture high-quality recordings of your Skype meetings. Whether you’re using Skype for Business on a Mac or looking for more advanced features, iTop Screen Recorder is worth considering.
Summary
Whether using Skype for Business’s built-in screen recorder or a third-party screen recording tool like iTop Screen Recorder, recording your Skype meetings can be a great way to capture essential discussions, presentations, or training sessions. While the built-in screen recorder in Skype for Business is a convenient option for Windows users, it has some limitations that users should be aware of. On the other hand, third-party screen recording tools like iTop Screen Recorder offer more advanced features like annotation tools, editing capabilities, and flexible recording options, making them an excellent choice for users or anyone looking for more advanced recording features. Choosing which screen recording tool to use will depend on your recording needs and preferences.